Discussions
Overview
A community of practice — the Power Platform makers of a company, the data analysts of a university — and a course forum have the same needs: a place where members share what they learn and ask each other questions, while a facilitator or instructor keeps the conversation on track. The content is a mix: open-ended discussions ("How do you structure your flows?") next to concrete questions with a right answer ("Why does this formula return an error?").
This article shows how to run such a forum with Discussions: a board in mixed mode, approval of new posts where the setting requires it, a pinned and locked rules topic, code blocks and screenshots in replies, the instructor's moderation queue, and a weekly digest for members who do not visit daily. A course forum is the example; a community of practice follows the same steps, usually with approval switched off.
📝 Note
The board lives on a SharePoint site and uses its permissions. For a course, a team site connected to the class team in Microsoft Teams is the natural home: students are site members, the instructor and the teaching assistants are site owners. Site owners have the Manage Lists permission and are therefore the moderators of every board on the site. The product requests no API permissions, so no admin consent is involved.
Step 1. Create the board in mixed mode
- Open the page of the course site that should hold the forum, switch to edit mode and add the Discussions web part.
- In the board setup form, keep New board selected and enter the Board name, for example Data Analysis 101 — Forum.
- In Mode, choose Discussions and questions. Members then pick the type of each topic themselves — Discussion or Question — and the board offers all five views: Recent, Unanswered, Answered, Featured and My topics.
- In Categories (one per line), enter the structure of the course or the community: for a course, the modules (Week 1 — Introduction, Week 2 — Data cleaning, …) plus Organizational; for a community, its practice areas.
- Set Require approval of new posts to Yes if the instructor wants to see every topic and reply before it is visible to the group. With approval on, a post from a member waits in the moderation queue; its author sees it with the Awaiting approval badge and the message Thank you. Your post will be visible after a moderator approves it, other members do not see it at all, and moderators see everything. Posts by moderators are published immediately.
- Click Create board.
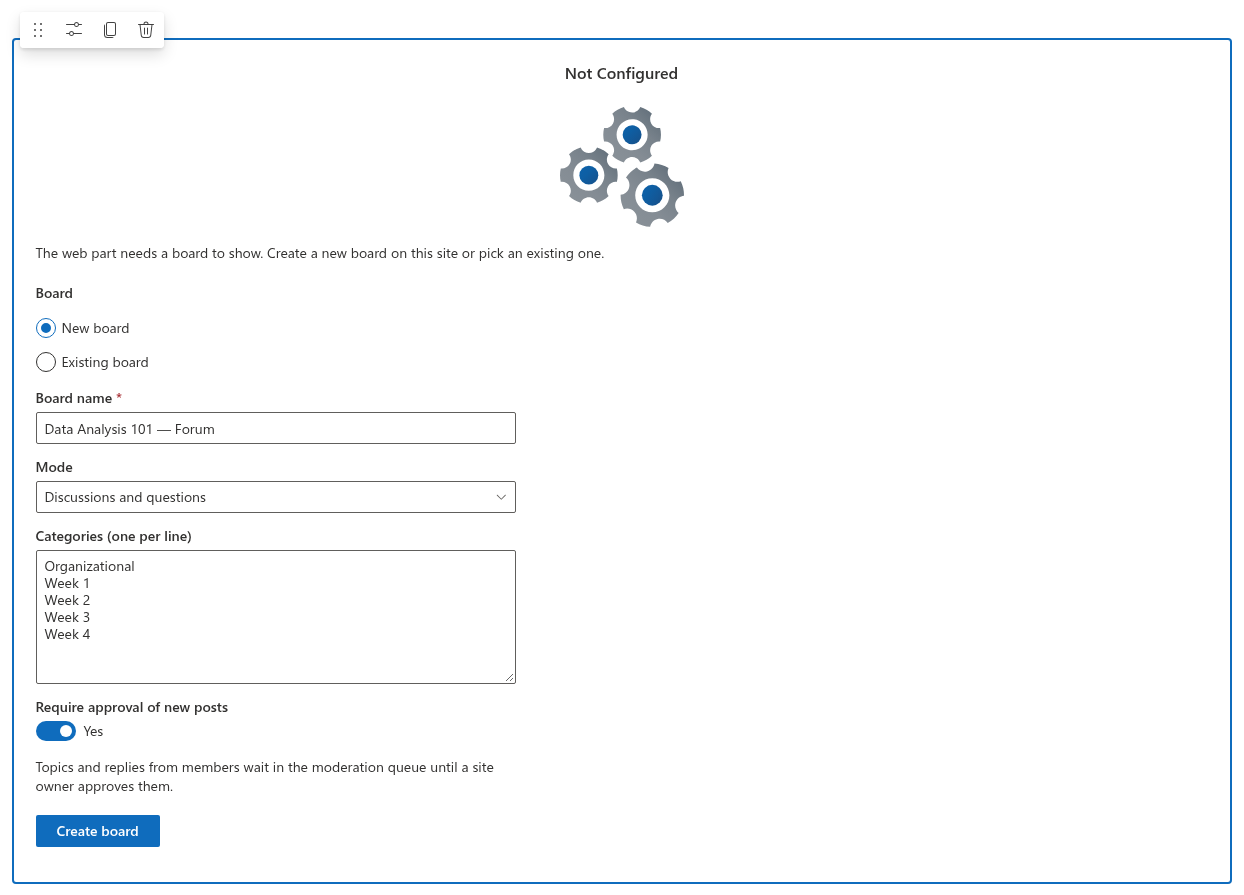
The board name, the description, the mode, the categories and the approval setting can be changed later by a moderator with Board settings in the command bar of the board — see KB10392. Creating Your First Board: Modes, Categories and Approval.
❗ Important
Approval applies to everybody without Manage Lists, including teaching assistants who are only site members. If the assistants should publish without waiting, add them to the site owners group — they then also moderate, pin, lock and edit other people's posts.
Step 2. Post the rules and pin them
The first topic of the forum should explain how it works: which category to use, how to phrase a question, what to do before asking. As a moderator:
- Click New topic, enter the title (Forum rules — read before posting), choose the type Discussion, the category Organizational, write the rules and click Post.
- Open the topic and click Pinned — the topic now stays at the top of every view, with the Pinned badge.
- Click Featured if you also want it in the Featured view, which works as a curated reading list of the board.
- Click Locked so that nobody replies to the rules: the Locked badge appears, the reply editor disappears and readers see This topic is locked. New replies are not accepted.
The same three buttons are used for the weekly reading, for an announcement that must stay visible, or for closing a discussion that has run its course. See KB10410. Pinning, Featuring and Locking Topics.
Step 3. Discussions and questions side by side
In mixed mode the new-topic form has a Type field with two values:
- Discussion — an open conversation. It has no answered or unanswered state; replies are a tree with unlimited nesting, and the topic is ordered by its last activity.
- Question — a topic that expects an answer. It shows the Question badge, appears in the Unanswered view until a reply is accepted, and then moves to Answered with the Accepted answer pinned at the top of the thread.
Ask members to use Question for anything with a right answer; the Unanswered view then becomes the instructor's to-do list. The author of a question and any moderator can click Mark as answer under a top-level reply; the mark is removed with Unmark answer. Details are in KB10398. Starting a Topic: Discussions and Questions and KB10400. Marking the Best Answer in Q&A Topics.
Step 4. Code blocks, images and attachments in replies
The reply editor has a toolbar with Bold, Italic, Underline, Strikethrough, Bulleted list, Numbered list, Quote, Code block, Link, Insert image and Clear formatting:
- Code block turns the current paragraph into a preformatted block that keeps indentation and line breaks — paste the formula, the query or the script, select it and click the button.
- Quote marks the part of someone else's message you are answering.
- Insert image uploads a picture from disk; a screenshot can also be pasted from the clipboard or dropped into the editor. Images up to 10 MB are stored in the Discussions Assets library of the site, in a folder per year, and shown inline.
- Attach file below the editor adds files — a dataset, a notebook, a PDF — as attachments of the topic or reply; they can also be added or removed later by the author or a moderator.
Everything a member types or pastes passes through an allow-list sanitizer, so scripts and unsafe markup never reach the list.
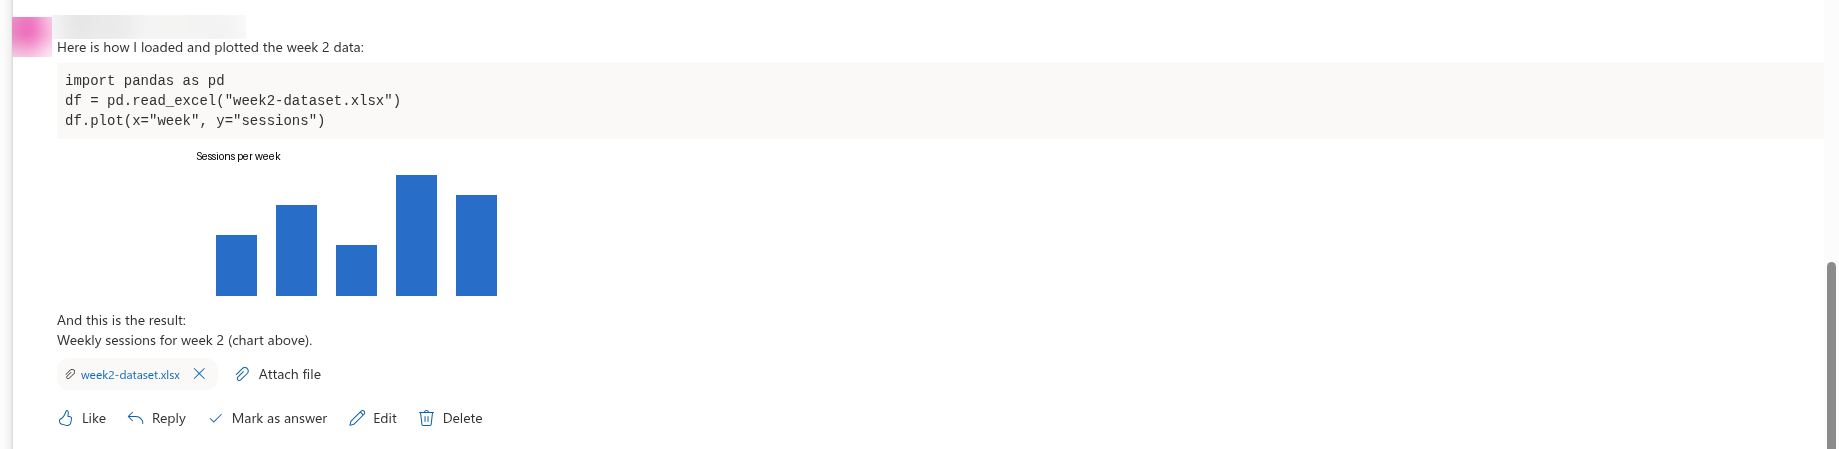
The editor is described in KB10401. Formatting Posts: The Rich Text Editor, Images and Code Blocks; attachments in KB10402. Attaching Files to Topics and Replies.
Step 5. Moderate as the instructor
Moderators see the Moderation button in the command bar of the board. The queue has six sections — Topics waiting for approval, Replies waiting for approval, Reported topics, Reported replies, Rejected topics and Rejected replies — each with the number of items, an excerpt, the author and the time. For every item:
- Approve publishes it — a pending item or a rejected one that deserves a second look; an approved reply updates the reply counter and the last activity of its topic, and records the author of the reply as the last person who replied;
- Reject keeps the item in the list with the Rejected status; other members do not see it, its author sees it with the Rejected badge. A reported post that was already published can be rejected from the Reported sections as well;
- Dismiss reports clears the reports of an item that members flagged but that is fine;
- Delete removes the item after a confirmation; a topic is deleted together with all its replies, while a reply that has replies of its own cannot be deleted until those are removed.
Pending items can also be approved directly in the topic: a moderator who opens the thread sees the Awaiting approval badge and the Approve button under the post. Members, on their side, have a Report button under every post that is not their own — each member can report a post once — and moderators can Edit and Delete any reply and any topic: Edit in the topic view changes the title, the category and the body of a topic; the author of a topic can also edit it as long as the topic is not locked, and delete it. See KB10409. Moderating a Board: Approval Queue, Rejecting and Dismissing Reports and KB10406. Reporting Inappropriate Posts in Discussions.
Step 6. Keep members in the loop: digest and mentions
Not every member visits the forum every day. Each member clicks Follow on the board and, from the drop-down of the button, chooses Weekly digest — or Daily digest for a busy week before an exam. The authors of topics follow their own topics automatically, so they are told when someone answers. In a reply, typing @ and picking a person from the list mentions a member of the site; mentions are stored with the post and are meant to reach the person regardless of their digest setting.
💡 Tip
The web part keeps subscriptions and mentions in the Discussions Subscriptions list and the Mentions column; the e-mails are sent by a Power Automate flow that a site owner sets up on those lists. The events, recipients and frequencies the flow should handle are described in KB10414. How Notifications Work in Discussions: Subscriptions, Mentions and Power Automate. Set the flow up before the term starts; until then, following records the subscription but sends no mail.
Through the term and after it
- Add the board to the class team. The same board opens as a channel tab in Microsoft Teams — see KB10393. How to Add Discussions to Microsoft Teams.
- Keep the pace visible. The Discussions Activity web part on the home page of the site shows the latest topics with the number of replies and the Answered badge.
- Close the term. Lock the topics that should not continue; the content stays readable on the site. The next cohort gets a new board on the same site — each page shows the board selected in its property pane.
- Review what is left open. The Unanswered view and the moderation queue are the checklist before the course closes.