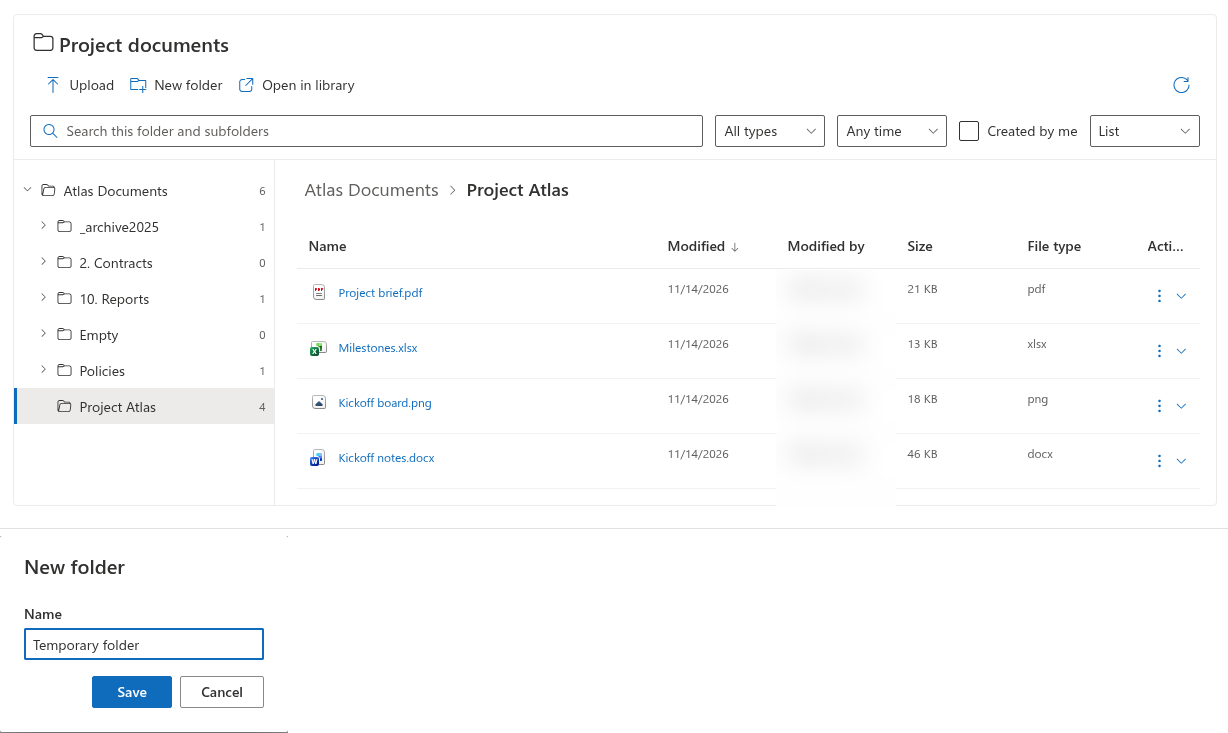
Folder Tree
Upload into the current folder
- Navigate to the destination folder and check the breadcrumbs.
- Select Upload and choose one or more files.
- Wait while the files upload. Folder Tree processes selected files sequentially and displays the current file name.
- Check the refreshed contents after the completion message.
If the page editor has enabled Allow drag-and-drop upload, you can instead drag files into the content area. The upload target is the current folder, not a folder you hover over in the tree. Uploading a folder hierarchy is not supported.
Create a folder
Select New folder, enter Name, and select Save. The new folder is created inside the current folder. Cancel closes the dialog without creating it. Names must not contain reserved characters, leading or trailing spaces, or a trailing dot.
❗ Important
An upload does not automatically replace an existing file with the same name. If a name collision stops the operation, choose another name or resolve the existing document in SharePoint before trying again. Earlier files in the same batch may already have uploaded.
Permissions and interrupted uploads
The page editor must enable the relevant commands, and you need permission to add items in the destination folder. Files larger than 10 MiB use chunked upload. If such an upload fails, a created file can remain in the library for recovery; inspect it before retrying. This chunk size is not a maximum supported file size.
If an uploaded document is not visible, check the allowed extensions and quick filters. A display filter does not block the upload itself.