How to Export a SharePoint List to Excel
Exporting data from SharePoint lists is a common task for teams looking to analyze, report, or share information effectively.
The List Filter Online web part enhances this process by providing intuitive filtering options that allow users to customize their data views before exporting.
This guide will walk you through the steps to export a SharePoint list to a static Excel spreadsheet using the List Filter Online web part.
By leveraging this tool, you can streamline your data management, ensuring that you only work with the most relevant information for your needs. Whether you're preparing reports, conducting analysis, or collaborating with others, this guide will help you make the most of your SharePoint data.
Prerequisites
Before users can export data from a SharePoint list using the List Filter Online web part, it's essential to configure the web part properly.
Please refer to the following article to ensure that the filtering options are tailored to meet the specific needs of your team or project: KB10201: List Filter Online. Web Part Configuration
1. Open the List Filter Online

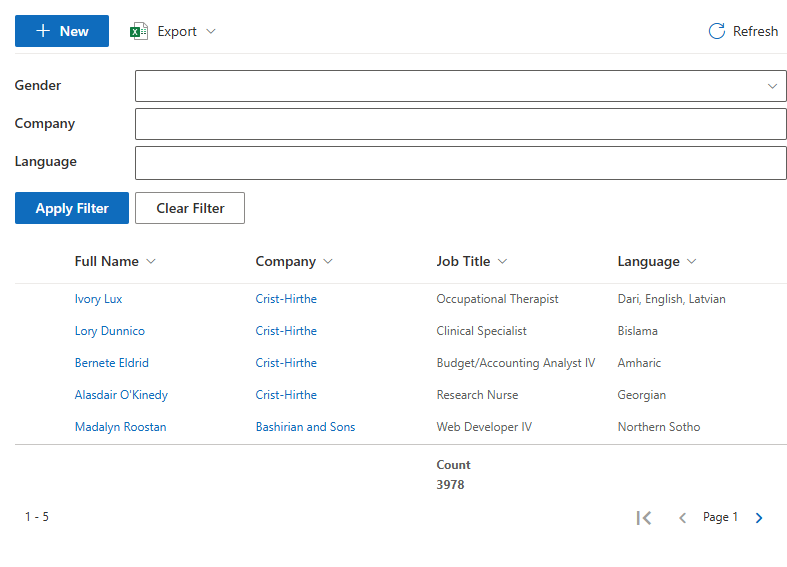
Open the List Filter Online First, navigate to the SharePoint page where the List Filter Online is located.
2. Filter Your Data

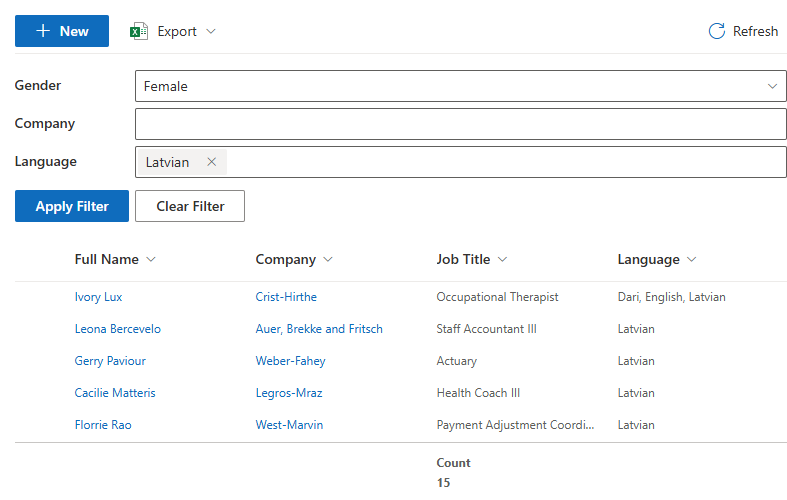
Filter Your Data Use the filtering options provided by the List Filter Online web part to narrow down the data displayed in the list.
Apply the necessary filters to show only the relevant entries you wish to export.
💡 Tip
You can use both the filter panel and column context menu to filter data.3. Export the Filtered List

Export the Filtered List After applying the filters, look for the Export option within the List Filter Online web part.
Click on Export to Excel. This will generate an static Excel file containing only the filtered data.
The List Filter Online supports three options to export data to Excel:
- Current Page
- All Items
- Selected Items
📝 Note
The total row is only exported if you select the All Items option in the export menu.4. Open the Excel File

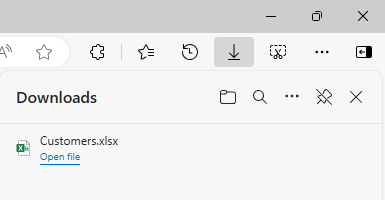
Open the Excel File Your browser will prompt you to download the file. Save it to your preferred location.
5. Review Your Data

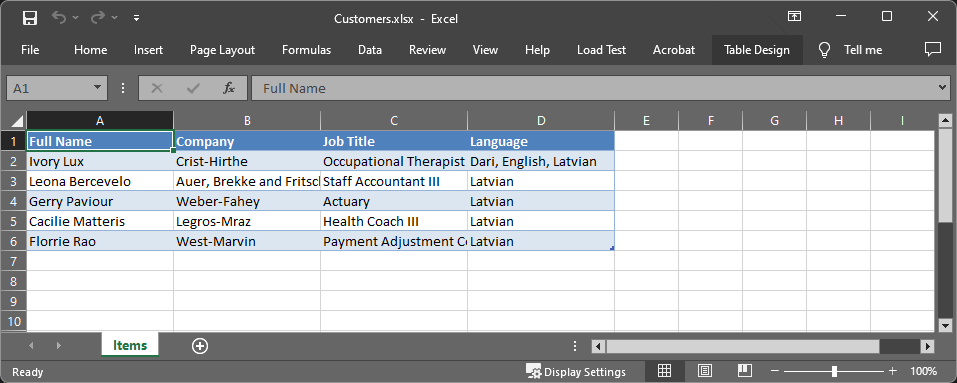
Review Your Data Open the downloaded Excel file to ensure all data has been exported correctly. You can now edit or manipulate this data as needed without any connection to SharePoint.
How to
Step-by-step guides